Skip to main content
Informationer
Hvad er Mustangklubben
Klubbens vedtægter
Meld dig ind
Persondataforordring
Forum
Gæsteindlæg
Seneste indlæg
Guidelines for MCD’s forum
Køb/Salg
Biler sælges
Biler købes
Reservedele sælges
Reservedele købes
Gallery
Aktiviteter
Arrangementer
Arrangementkalender
Godt at vide
Gode råd til begynderen
Opbevaring af biler
Veteranforsikring
Mål og vægt
Ordbog
Links
Kontakt
Bestyrelsen
Arrangementsudvalg
Pony Power bladet
Web
Medlemsadministration
Shop
Log på
Glemt log på?
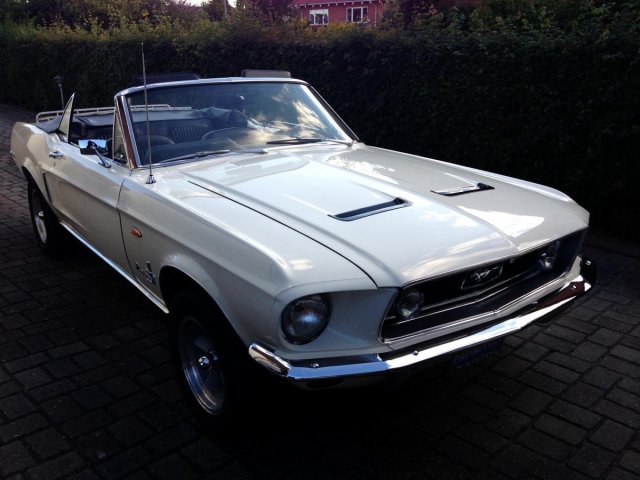
image1-771.jpeg
image1-771.jpeg
Detail
image-772.jpeg
image-772.jpeg
Detail
Title
Ordering
Ordering Ascending
Ordering Descending
Title Ascending
Title Descending
Date Ascending
Date Descending
Rating Count Ascending
Rating Count Descending
Rating Ascending
Rating Descending
Hits Ascending
Hits Descending
Display Num
5
10
15
20
50
All
Play Slideshow
Pause Slideshow
Powered by
Phoca Gallery